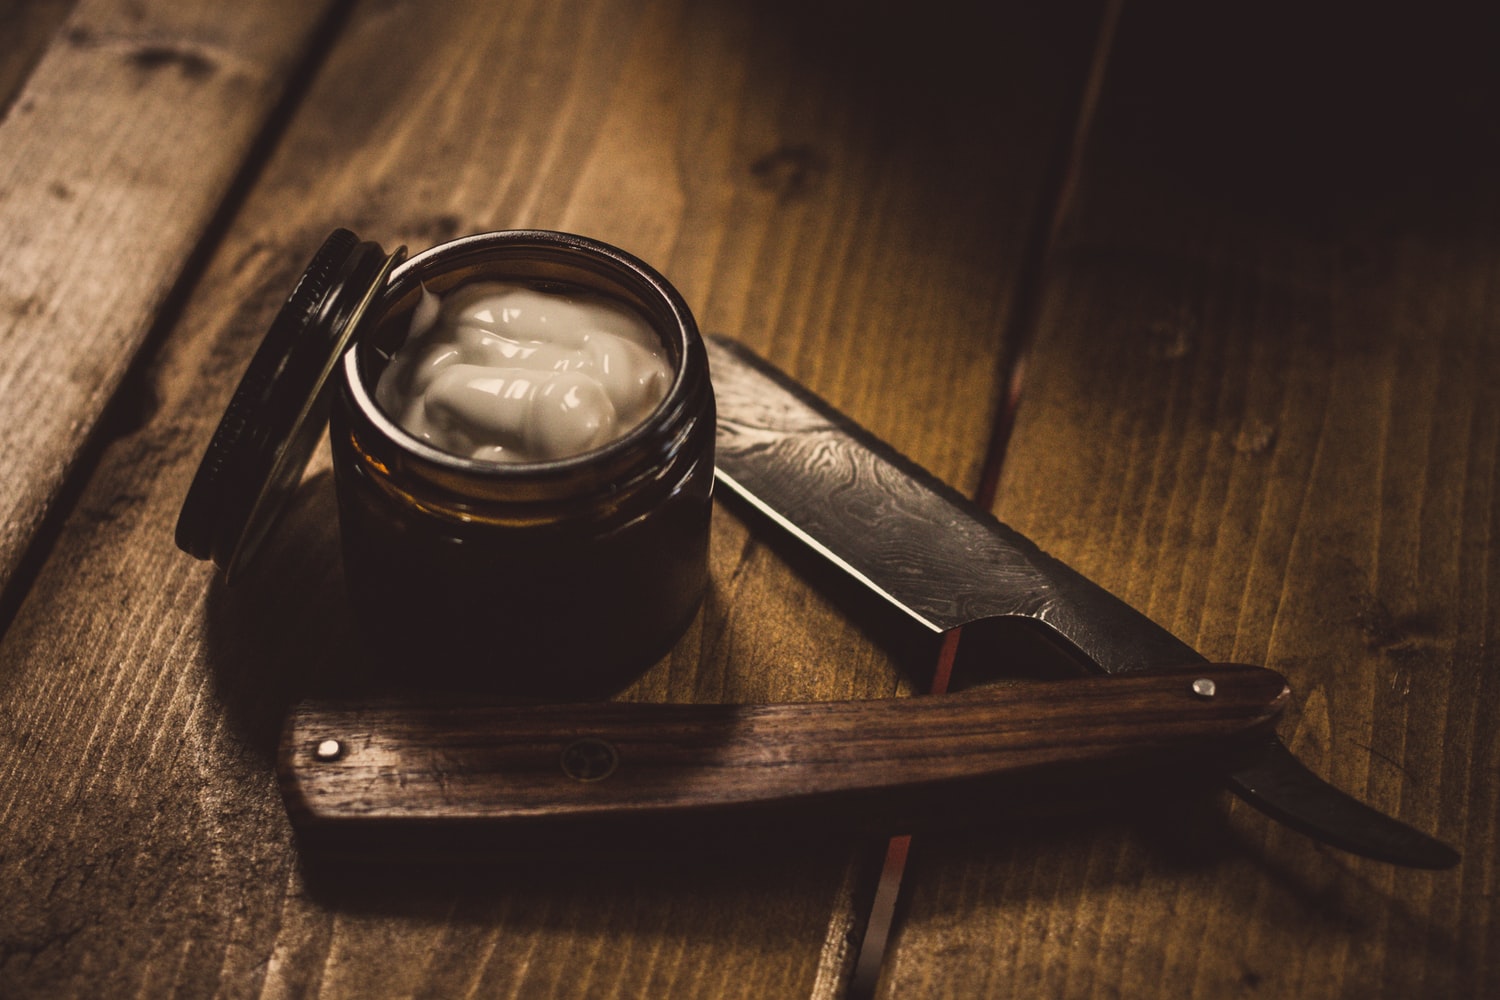
Wet shaving is a ritual that many of us can’t be without and leather shaving strops are the best way to keep your blade sharp through the years. For an old-school barber cut, there’s no finer maintenance method.
So how do you make a leather shaving strop of your very own?
Read our quick guide to building a leather strop from scratch.
Step 1 – Prepare your workbench and materials
Make sure you have everything to hand. Get a good, stable bench with plenty of light, but leave your power tools in the box – you won’t need them here.
You’ll require:
- A few lengths of 0.75” plywood, or anything up to 1.5” if you want a heavier strop
- A saw
- A metal filer
- Sandpaper
- Pencils and rulers
- Mineral oil
- Varnish
- A very sharp craft and Stanley knife
- A strip of 100% cowhide leather
- Epoxy sealer
Chisels are optional. But for now, let’s stick to the basic setup.
Step 2 – Sand, saw and shape the plywood
Lay the plywood down and sand it, ensuring the backing board is level. Do this several times until it couldn’t be any smoother.
Most of the strop will be used for honing the blade. But you need a handle too, so pencil a line where the excess wood will be cut away. You’ll ideally want a strop that’s 13-15” long in total.
Saw the extra wood off. Then draw a rectangle of 5” or so on the remaining material. Within this, mark the shape of the handle you want. Cut, file and sand the edges until you have something you can grip easily.
Step 3 – Get the leather and strop ready
You want more leather than you’ll use on the final strop, just in case the shape is a little ‘off’ to begin with.
Lay the strop down over your leather strip. Using a ruler, sketch the outline with an extra half inch’s difference between the edge of the wood and the cowhide. Do this again for another strip.
Groove both sides of the strop with a Stanley blade, in diagonal lines that crisscross. This will help the sealant act faster.
Step 4 – Glue the leather into place
Here’s the fun part: applying the epoxy solution. We suggest a fine brush for a quick finish, but wooden popsicle or ice cream sticks are good too.
Paste the first entire side of the strop, up to the handle. Next, cover the smooth side of the leather. You’ll want the rough half to be facing up so your shaver encounters more resistance.
Stick the first leather strip to the strop. Press another plank of plywood on top and hold it down for a few minutes. Then turn it over, cut the extra leather from the sides, coat the second half of the strop and the other leather piece, and repeat.
Step 5 – Oil and varnish the finished product
Conditioning is important, and you might as well give your strop a great start by applying mineral oil over the entire thing.
Coat it once, twice, and wipe it with a rag. You can use the spare plywood to rub it up and down the strop. Add some varnish for a polished look if you prefer.
Now you have a sharp shaving companion to hand, preserving that blade for many years and saving you cash on new razors. You can even notch a hole in the handle too, so you can hang the strop up.
Photo by ANDI WHISKEY on Unsplash


