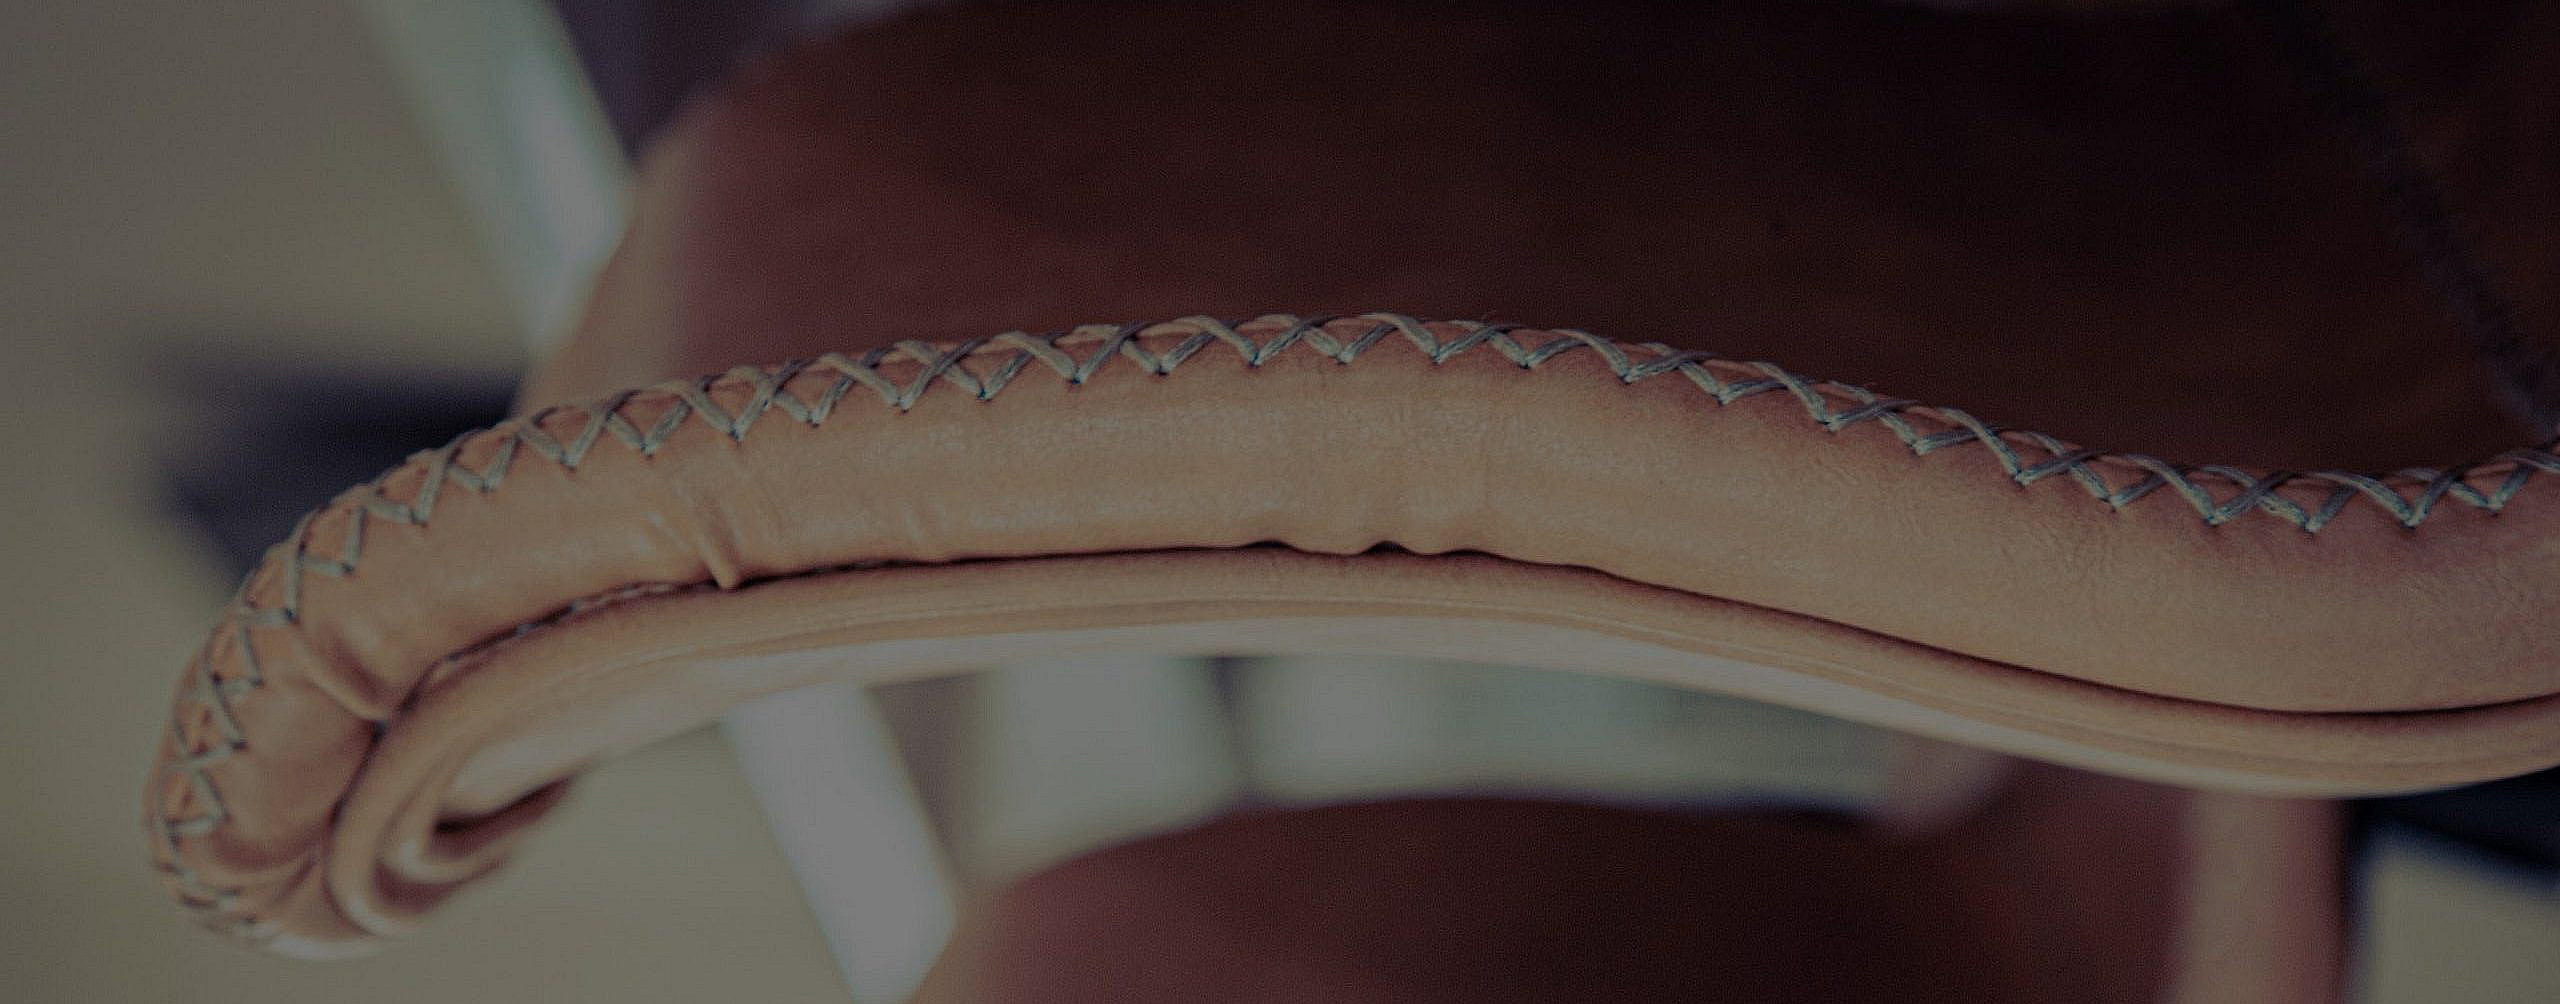
After working with leather for a while, you will come to realise the importance of details. No matter the quality of the leather, if the cutting or stitching or finishing isn’t right, you’ll end up with something shoddy.
The finishing of edges is one of these important details. If you leave them as they were when you cut the leather, the edges will be uneven and unsightly.
Basic edge finishing consists of four steps that combine to neaten and to seal the exposed trimmed parts of your project.
Edge finishing may not be the most difficult of the skills required by the leather artisan, but it is one of the most important.
Step one is sanding. If you have sewn two pieces of leather together, you need to make sure the edges that are in line are as straight and as even as possible. By starting with coarse glasspaper you can even things up. Then, by gradually working your way to fine grade glasspaper, you can be sure of a super-smooth finish.
Step two is coating. This is quite simple and traditionally done with beeswax, but tragacanth gum can also be used. Simply rub it generously on all the edges until it is evenly applied and well absorbed. This will protect the exposed edges of leather from wet and dirt.
Step four is burnishing. This is simply rubbing the edge vigorously. You can use a cloth, special leather polishing tools or even a power drill attachment. Burnishing heats the wax or gum allowing it to penetrate the leather even further, so offering better protection. You should end up with a smooth, shiny finish.
The last part of the process is buffing. This is polishing the edges to bring a high-shine finish. Using a succession of cloths, working from rough to smooth, will bring the most aesthetically pleasing finish.


