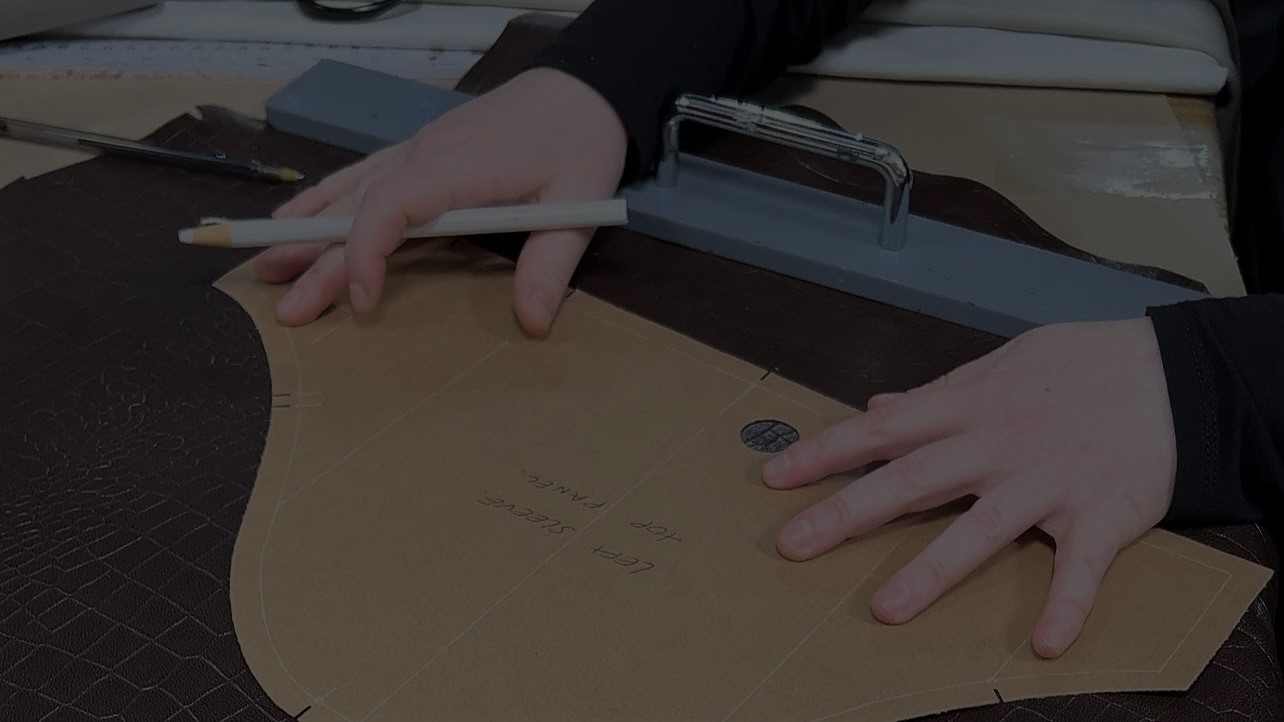
Once you’ve decided on your design, before you cut your leather, you need to make a pattern, or a template. If you intend to use it more than once, it’s best to use a fairly thick card so that it lasts – 270gsm should work well. The first pattern to learn to cut should be a rectangle – this will give you the basic skills to move on to more ambitious ones.
Start with a piece of card slightly larger than the shape you want to cut and score a line down the centre with a scalpel and a ruler. Be careful not to cut through the card because this is a guideline for a fold. Then fold!
Punch a hole through both thicknesses near the bottom of the cars. Then unfold and draw a line to connect the two holes – this will be at a right angle to the fold.
Fold the card again and make another hole with the awl towards the top of the card – the distance from the bottom awl that you want the height of the template to be. Then open the card and, using a steel rule as a guide, cut between the two holes with a scalpel.
Fold the card back in half along the centre fold line, measure up (whatever height you would like the pattern to be) from the straight bottom edge you have made and make another point with the awl.
Marking the Template
To mark the width of the pattern, fold the card back in half, then calculate half of the width you would like the pattern to be and make two holes, one towards the top and one towards the bottom. Then cut down the length of the card joining these two holes.
To finish, cut along the line you drew between the bottom two holes.
You have now cut your first rectangular leather pattern. By adding notches or curves and making allowances for seams you will be able to advance your techniques as you take on more ambitious projects.


